How to Check Your Car’s Oil: A Simple Step-by-Step Guide
Table of Contents
Tips for composing a new page
Keeping an eye on your car’s oil level is one of the easiest — and most crucial — ways to keep your vehicle running at its best. Oil acts as the lifeblood of your engine, reducing friction, preventing excess wear, and ensuring that all the moving parts stay properly lubricated. Ignoring oil checks can lead to major engine issues and expensive repairs down the road.
In this guide, we’ll break down everything you need to know about checking your oil: why it matters, how to do it correctly, and what warning signs to watch for.
Why Is Checking Your Oil Important?
Your engine relies on clean, sufficient oil to function properly. Over time, oil can become dirty, lose its effectiveness, or even deplete due to leaks or consumption. If left unchecked, low or dirty oil can:
● Increase engine wear and tear.
● Cause overheating.
● Lead to expensive engine repairs or replacements.
Regular oil checks ensure your car is running efficiently, prolong its lifespan, and save you money in the long run.
What You Need to Check Your Oil
Before you get started, gather these tools and items to make the process easier:
- Clean rag or paper towels – To wipe the dipstick.
- Gloves (optional) – To keep your hands clean.
- Flashlight (if needed) – For better visibility under the hood.
When Should You Check Your Oil?
To get the most accurate reading:
● Check your oil when the engine is cold, or wait at least 10-15 minutes after turning off your car. This allows the oil to settle back into the oil pan.
● Park the car on a flat, level surface. An incline can skew your reading.
Most manufacturers recommend checking the oil at least once a month or before long trips, but if your car is older or burns oil, more frequent checks may be necessary.
How to Check Your Oil in 6 Easy Steps
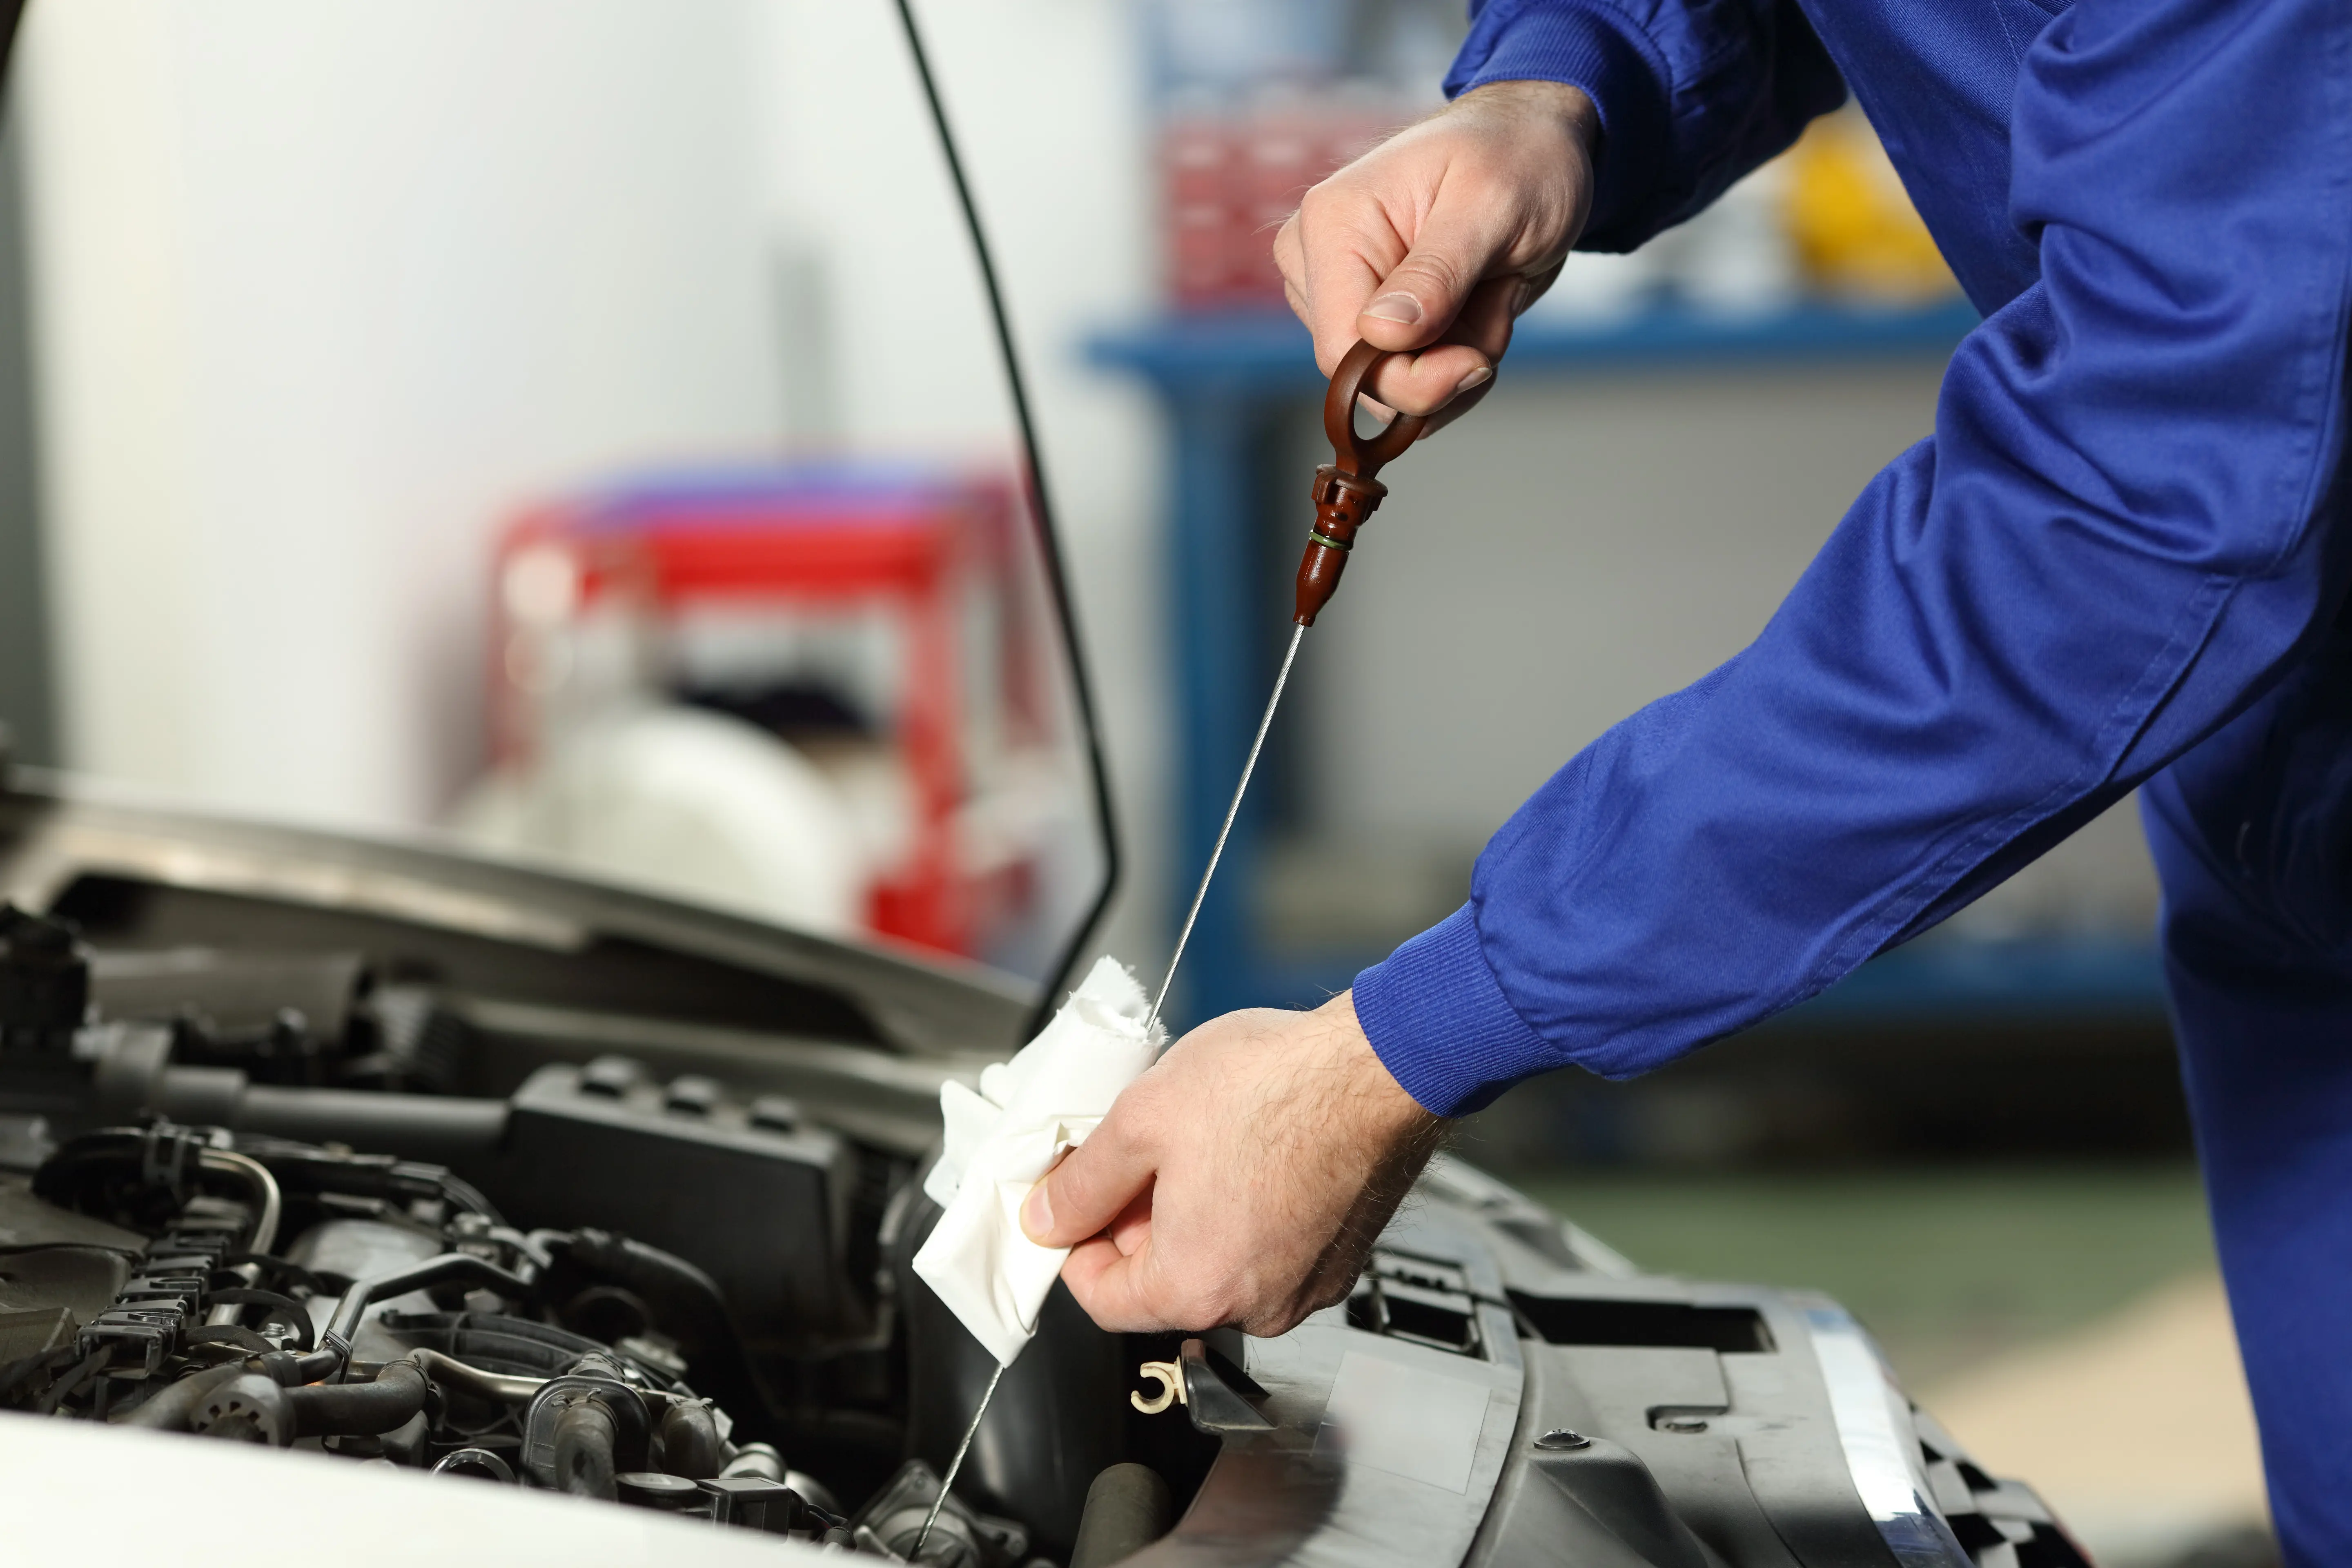
1. Locate the Dipstick
● Open your car’s hood and secure it with the hood prop rod, if necessary.
● Look for the dipstick, which is usually a brightly colored handle (often yellow or orange) near the front of the engine. If you’re unsure, refer to your owner’s manual.
2. Remove the Dipstick
● Pull the dipstick out of its tube slowly.
● Have a clean rag or paper towel ready to wipe off the initial oil.
3. Wipe and Reinsert
● Use your rag to clean the dipstick completely, removing any oil so you can get a clear reading.
● Insert the dipstick fully back into its tube, making sure it goes in all the way.
4. Remove the Dipstick Again
● Pull the dipstick out once more and hold it horizontally.
● Look closely at the markings on the dipstick. Most dipsticks have two marks:
o Full line: Indicates the maximum oil level.
o Add line: Indicates the minimum acceptable level.
The oil level should fall between these two marks.
5. Check the Oil’s Appearance
● The oil should appear amber or light brown if it’s clean and fresh.
● If it looks dark, gritty, or has particles, it may be time for an oil change.
● Milky or frothy oil could indicate a coolant leak, which needs immediate attention.
6. Reinsert the Dipstick
● Once you’ve checked the level and condition, securely place the dipstick back into its tube.
What to Do If the Oil Level Is Low
If your oil level is below the “Add” mark, you’ll need to top it off. Follow these steps:
1. Choose the Right Oil
● Refer to your owner’s manual to find the correct oil type and viscosity for your vehicle. Using the wrong oil can harm your engine.
2. Add Oil Gradually
● Locate the oil filler cap, which is typically marked with an oil can symbol.
● Slowly pour in a small amount of oil (about a quarter of a quart) at a time.
● Recheck the dipstick after each addition to avoid overfilling.
3. Avoid Overfilling
● Too much oil can be just as harmful as too little. Overfilling can cause foaming and reduce the oil’s effectiveness, leading to engine issues.
Signs You Might Need an Oil Check or Change
● Dashboard Warning Light: The oil pressure or check engine light indicates there might be an issue.
● Excessive Exhaust Smoke: Blue or gray smoke can mean burning oil.
● Strange Engine Noises: Knocking or ticking sounds could indicate insufficient oil.
● Burning Oil Smell: This might point to an oil leak.
If you notice any of these signs, check your oil immediately and consult a mechanic if necessary.
Tips for Maintaining Healthy Oil Levels
1. Stick to Your Oil Change Schedule
Most vehicles require oil changes every 5,000 to 7,500 miles but always follow your manufacturer’s recommendations.
2. Use High-Quality Oil and Filters
Invest in good-quality oil and filters to enhance your engine’s performance and longevity.
3. Monitor for Leaks
Check your parking spot for oil puddles or drips, which could signal a leak.
4. Keep a Spare Quart of Oil
Having the right oil on hand ensures you’re prepared for low oil levels during emergencies.
5. Listen to Your Car
Unusual noises or performance changes might mean it’s time to inspect your oil or other engine components.
Why Regular Oil Maintenance Matters
Regularly checking and maintaining your oil offers several benefits:
● Prolonged Engine Life: Proper lubrication reduces wear and tear on engine components.
● Improved Fuel Efficiency: Clean oil allows your engine to run smoothly, optimizing fuel economy.
● Cost Savings: Routine oil maintenance helps avoid costly repairs down the road.
Conclusion
Checking your car’s oil is a quick and easy way to keep your engine in peak condition. By following the steps outlined in this guide, you can ensure your vehicle stays well-lubricated and ready to perform.
At Farris Motor Company, we care about your vehicle’s longevity. Whether you need an oil change, advice on car maintenance, or a new ride, we’re here to help. Visit Farris Motor Company to schedule a service appointment or explore our inventory!